There are tons of ways to improve and monitor Google Maps performance, especially if your business is in the Roofing industry. The first thing to do is set up a basic profile (you will populate it with the more complex stuff later).
Google My Business is critical for local roofing SEO, particularly in the Roofing industry. As such, you need to keep all the listing data up to date and accurate. According to research, about half of clients will visit a business or store on the day on which they perform a search such as “Roofer near me”. But according to the same research, 80 percent of potential clients will not trust a business that has inconsistent information on their online listing. As such, it is critical to ensure that your Name, Address, and Phone number (NAP), are consistent on all your online properties and listings.
Follow the following steps to list your business on Google
1. Sign in to your Google Account or set up a new one if you don’t have one
2. Navigate to google.com/business and click on the “Manage Now” Button
3. Enter the Business Name
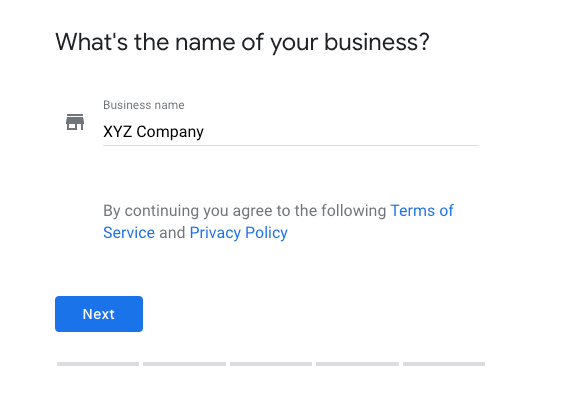 If your business name is similar or the same as that of another business in the targeted region, the autocomplete function will show those businesses. Do not panic as this is merely to avoid double registration of a business where you may have already registered and forgotten about it. The autocomplete also makes it easy to add a new Google My Business profile to an already registered business if you are adding in a newly opened location.
4. Specify Service Areas (Only applies to Service Area Businesses).
 Before you can select the business category you have to specify the locations you intend to serve. This will ensure that Google lists your business for Roofing searches in those locations, even if you do not have a physical address. You can enter the ZIP codes of the locations, the cities, and regions that your business will be serving.
Note that Google is currently doing away with “Distance around your business location”. As such you should not fill this option but just specify your ZIP codes, cities, and regions.
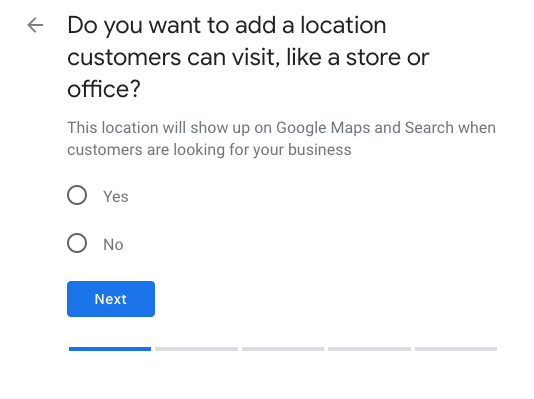
5. Enter Business Location Address
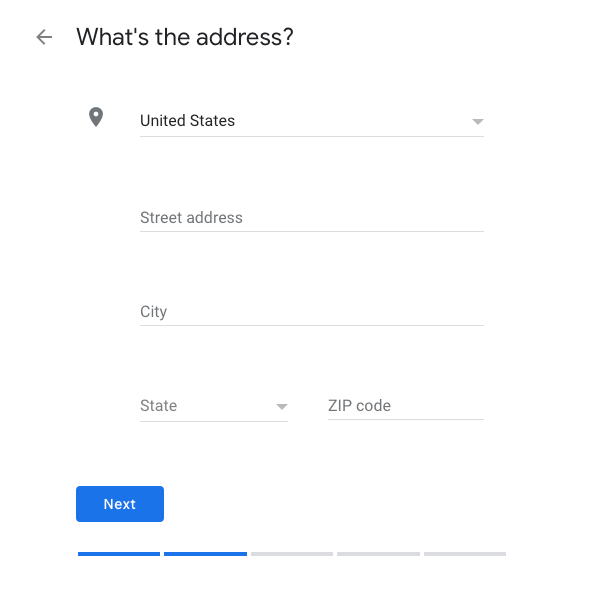 This only applies if this is the location where you provide face to face services to your clients.
Check the box at the bottom of the form if you run a Service Area Business (SAB) that delivers goods and services to clients. As an SAB, you have two options:
1). If you intend to serve clients from the business address, enter your address in the form, check the box and then proceed by clicking on the button labeled “Next”.
2). If you do not intend to serve clients from the business address leave the address field blank, check the box, and then proceed by checking the box underneath that will be titled “Hide my address (it’s not a store)’.
If your business delivers services and goods directly to clients, read on for how to specify a Service Area below.
6. Select the Business Category
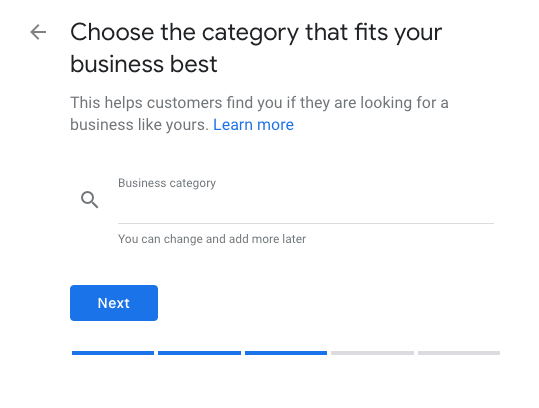 It is critical to fill in this field given that it will appear in your GMB profile and will also influence the type of Roofing searches that you will appear on the search engines for. You can also do some testing with it when you are updating your GMB listing.
Though it can always be adjusted (you will be asked to re-verify), it is always recommended to research competitors in the Roofing industry and look through the full list of categories to find the most appropriate category that fits the Roofing business.
Note that some of GMB features apply only to certain categories. For instance, hotel listings typically show ratings and class and list the amenities on offer. Roofing businesses may add reservations, URLs and booking buttons to listings.
These are but a few examples of the developments in Google Maps that you need to keep up to date with.
7. Add your Website URL and Contact Phone Number
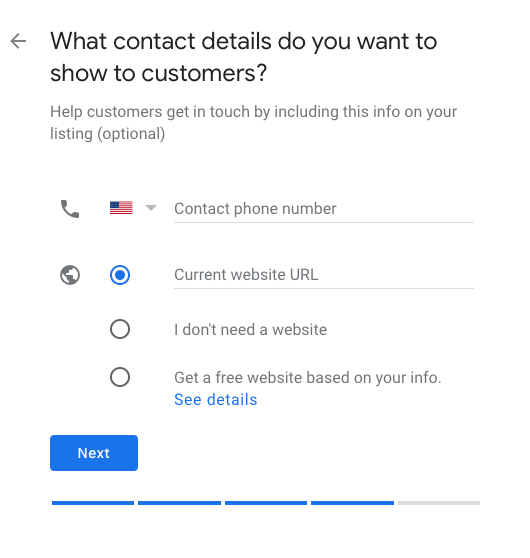 While not mandatory, we strongly advise that you include them as they make it possible to take advantage of advanced functionality in GMB such as call tracking. Also, note that you will have to change all other business listings if you ever update these on your GMB listing.
If you have not yet set up a website, you will still have the option of creating a new website using the data you already entered into the listing. However, we always recommend that you have a unique website if you are running a local business.
8. Complete the GMB Verification
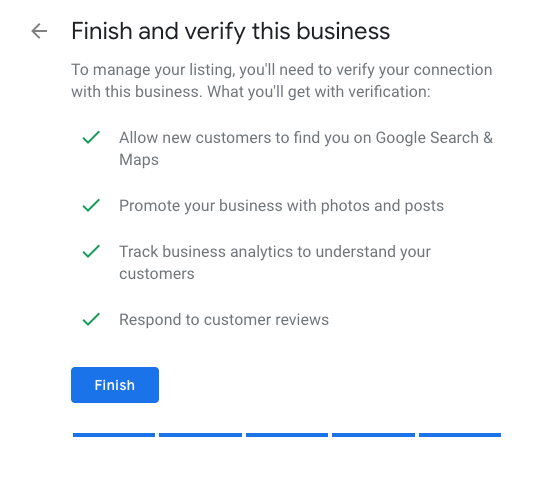 You will still have to prove that your business is located at the address you entered especially if you registered a new Google My Business profile. The options available for verification include:
1). Postcard
One of the most popular verification methods. Google will send a postcard to the address you provided, which should arrive in your letterbox in about five days. In the postcard will be a code that you will enter into your Google My Business Account to verify your address. If you do not receive the postcard, you can always request another by scrolling to the top of your account in GMB, and clicking on the banner titled “Request another code”.
2). Phone verification (Rare)
You can also verify your business through the phone. However, this option is not available to all businesses. Eligible businesses will typically have a ‘Verify by phone’ option, which you should see at the beginning of the verification process if you qualify. It is typically quicker as all you need to do is choose verification by phone, get the automated message with the code and then enter it into your GMB account.
3). Email verification (Rare)
Just like phone verification you should see the “Verify by email” option if you are eligible. If you choose this method you should get a verification code in the email that you associated with the GMB listing and enter it into the GMB account. Ensure that you have access to the email you provided on the listing before you select this verification method.

