Whether you’re building a new home or replacing an old roof, understanding the roofing installation process can help you manage expectations and ensure a smooth project execution. Here’s a step-by-step guide to give you insights into what happens during roofing installation.
 1. Roof Inspection and Measurements
Before any work begins, a thorough inspection of the existing roof (if there is one) is crucial. Professionals will measure the area, check for structural damages, and assess the underlying decking’s condition.
2. Material Selection
Based on your budget, aesthetic preferences, and the climatic conditions of your region, you’ll choose the roofing material. Common choices include asphalt shingles, metal sheets, tiles, and wood shingles.
3. Removal of Old Roofing (if applicable)
If you’re replacing a roof, the old materials need to be stripped off. All shingles, underlayment, and flashing are removed, ensuring a clean slate for the new installation.
4. Repair and Prepare the Roof Deck
Any damages or rotted spots in the decking are repaired. Ensuring a solid foundation is crucial as it supports the weight of the new roofing material and provides an even base.
5. Install Drip Edge and Underlayment
- Drip Edge: Installed at the edges to guide the runoff away from the fascia and into the gutters.
- Underlayment: A protective barrier (often felt paper) is rolled out and secured over the roof deck, providing an extra layer of protection from moisture.
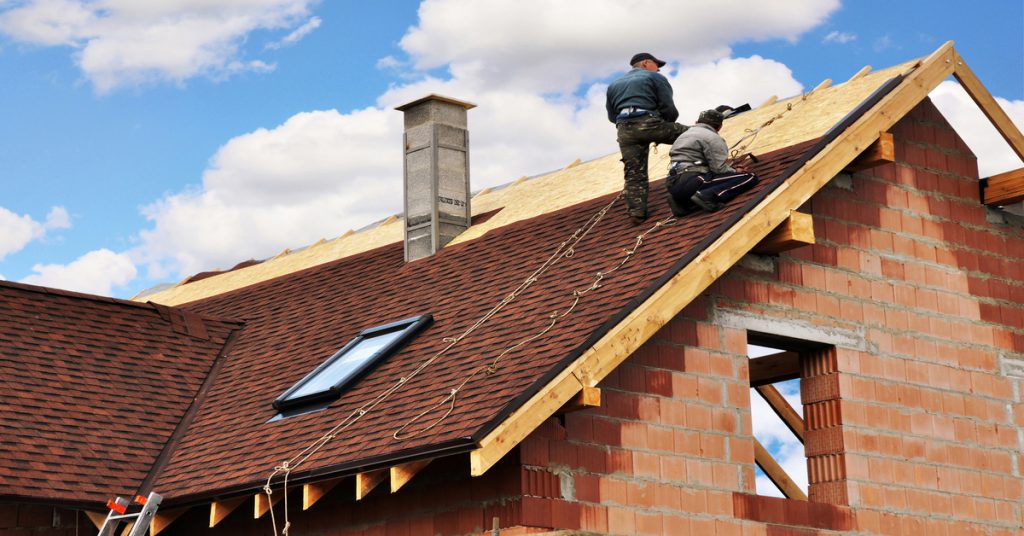
6. Roofing Material Installation
- Shingles/Tiles: Starting from the bottom edge, these are overlapped and secured, moving upwards to the roof’s peak.
- Metal Roofs: Large panels are aligned and attached using screws with rubber washers.
7. Installing Roof Features
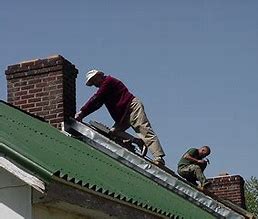
- Flashing: Thin metal strips are placed around chimneys, vents, and valleys to prevent water leakage.
- Ventilation: Roof vents or ridge vents are installed to allow for airflow, preventing moisture buildup and maintaining temperature balance.
8. Installing the Ridge Cap
The roof’s peak or ridge gets its set of specialized shingles or caps, providing both protection and a finished look.
9. Cleanup and Waste Disposal
Post-installation, it’s essential to clean up. All nails, remnants of materials, and old roofing are collected and disposed of responsibly.
10. Final Inspection
Once the installation is complete, a thorough inspection ensures that all elements are securely in place, and there are no potential leak areas.
Conclusion
Roofing installation is a meticulous process that demands attention to detail and expertise. Whether you opt to DIY or hire professionals, understanding the steps involved can help you ensure the job is done right. With a quality roof over your head, you can rest assured of protection, energy efficiency, and enhanced curb appeal for years to come.